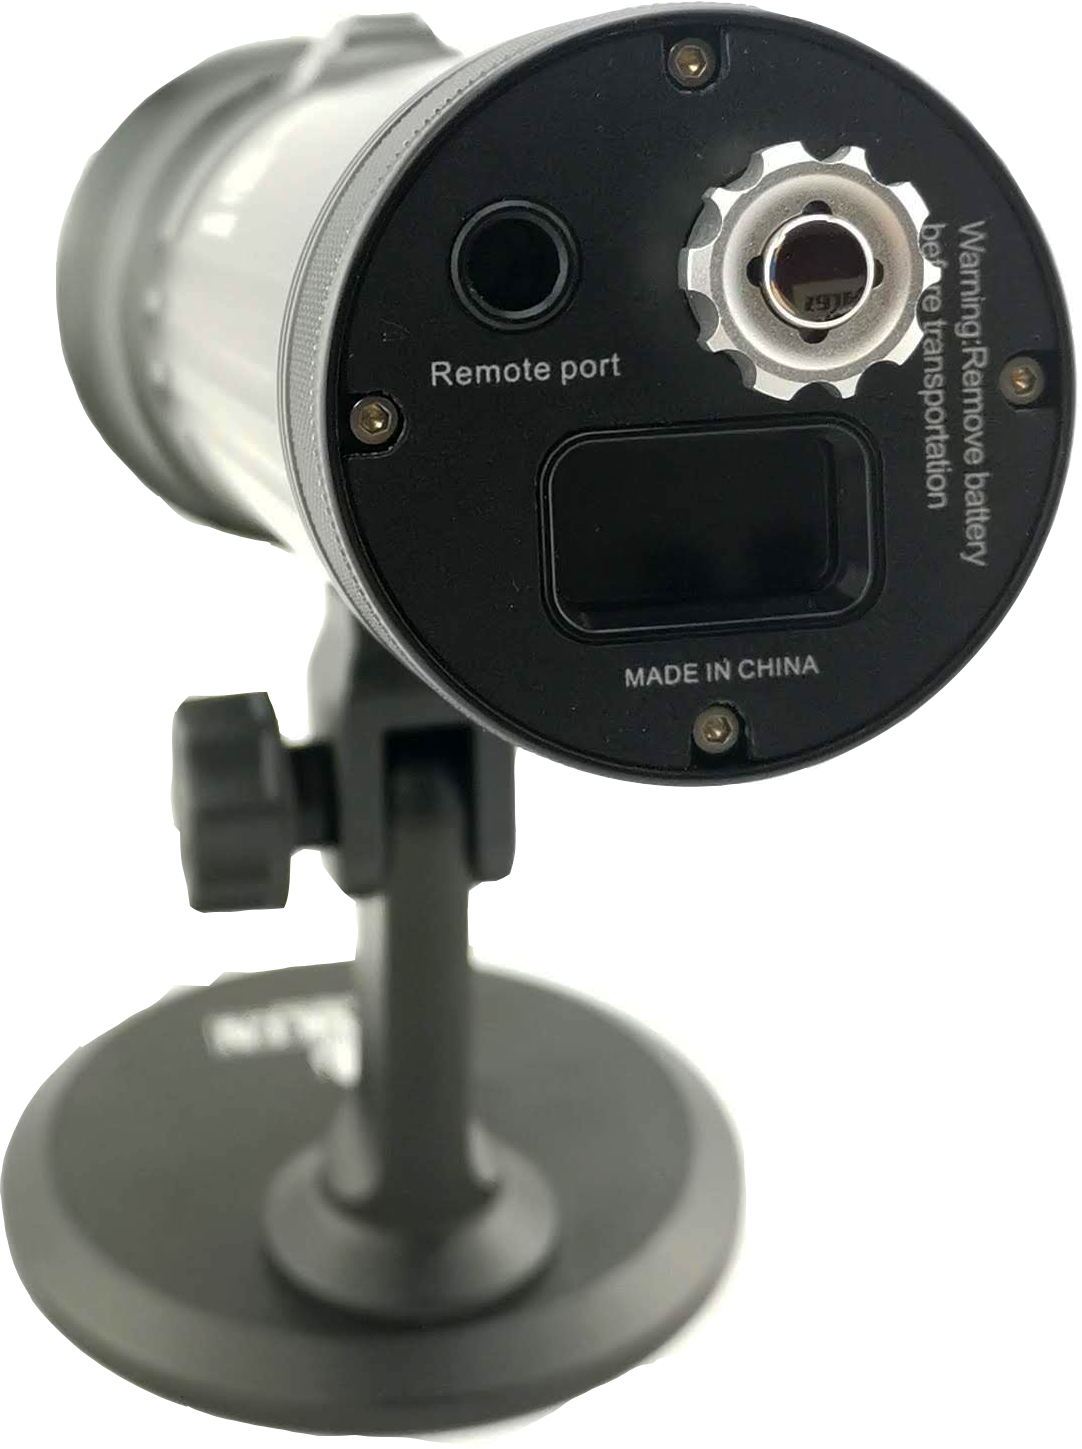
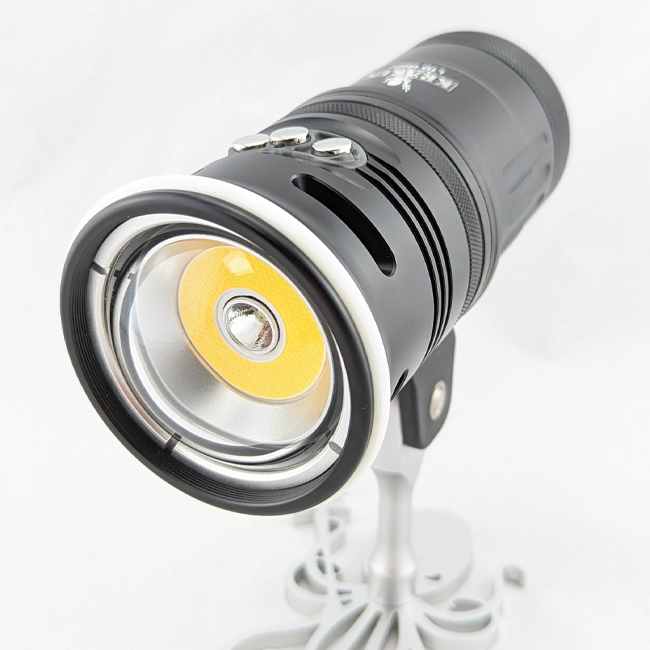
Skip to Content
Aquatic Imaging Australia
Shop Online
Courses
PADI Digital Underwater Photographer- SCUBA
AIA Underwater Photographer Course - SCUBA
AIA Freediving Photography Taster
Dive in Sydney
Local Diving
Expeditions
Galápagos Islands 2025
Lady Elliot Island 2025
Komodo 2025
Maldives, Fuvahmulah 2024
Eden - Wreck Diving 2024
Montague Island - Narooma 2024
North Satradbroke Island, Queensland 2024
Red Sea Safari 2023
Socorro & Sea of Cortez 2023
Services
Photoshoots
Underwater Photo Competition
About
Contact Us
0
0
Shop Online
Folder: Courses
Back
PADI Digital Underwater Photographer- SCUBA
AIA Underwater Photographer Course - SCUBA
AIA Freediving Photography Taster
Dive in Sydney
Local Diving
Folder: Expeditions
Back
Galápagos Islands 2025
Lady Elliot Island 2025
Komodo 2025
Maldives, Fuvahmulah 2024
Eden - Wreck Diving 2024
Montague Island - Narooma 2024
North Satradbroke Island, Queensland 2024
Red Sea Safari 2023
Socorro & Sea of Cortez 2023
Folder: Services
Back
Photoshoots
Underwater Photo Competition
About
Contact Us
Shop Online Light & Motion Sola Dive Light 800 SF
Light and Motion Sola Dive Light 800 SF.png Image 1 of 4
Light and Motion Sola Dive Light 800 SF.png
Light and Motion Sola Dive Light 800 SF c.png Image 2 of 4
Light and Motion Sola Dive Light 800 SF c.png
Light and Motion Sola Dive Light 800 SF b.png Image 3 of 4
Light and Motion Sola Dive Light 800 SF b.png
Light and Motion Sola Dive Light 800 SF a.png Image 4 of 4
Light and Motion Sola Dive Light 800 SF a.png
Light and Motion Sola Dive Light 800 SF.png
Light and Motion Sola Dive Light 800 SF c.png
Light and Motion Sola Dive Light 800 SF b.png
Light and Motion Sola Dive Light 800 SF a.png

Light & Motion Sola Dive Light 800 SF

A$409.00
Sold Out

All the premium features and robust reliability of the Sola platform perfect for the traveling diver on a budget.

Add To Cart

All the premium features and robust reliability of the Sola platform perfect for the traveling diver on a budget.

All the premium features and robust reliability of the Sola platform perfect for the traveling diver on a budget.

Lumens (Flood 60°/Spot 12°):

High- 800 / 500

Med- 400 / 250

Low- 200 / 125

Run Time (Flood/Spot):

High- 70 Min / 70 Min

Med- 140 Min / 140 Min

Low- 280 Min / 280 Min

Charge Time: 150 Min

Power: 2 Amp Weight: 254 g

Size: 10 x 53 x 53

Depth: to 100m


You Might Also Like

Sola-Pro-3800-1024x1024.jpg Sola-Pro-3800-1024x1024.jpg Sola-Pro-3800-1024x1024.jpg Sola-Pro-3800-1024x1024.jpg Sola-Pro-3800-1024x1024.jpg
LIGHT & MOTION SOLA VIDEO LIGHT PRO 3800
A$899.00
Sold Out
Nitescuba NSV80 Video & Strobe Light DUAI.jpg Nitescuba NSV80 Video & Strobe Light DUAI.jpg Nitescuba NSV80 Video & Strobe Light DUAI.jpg Nitescuba NSV80 Video & Strobe Light DUAI.jpg
Nitescuba NSV80 Video & Strobe Light
A$1,299.00
Sold Out
Kraken Hydra 6000 Video Light.jpg Kraken Hydra 6000 Video Light.jpg Kraken Hydra 6000 Video Light.jpg Kraken Hydra 6000 Video Light.jpg
Kraken Hydra 6000 Video Light- CLEARANCE
A$770.00
Untitled-design-4.png Untitled-design-4.png
A$1,265.00
7000 iii.jpg 7000 iii.jpg 7000 iii.jpg 7000 iii.jpg
Kraken Sports LTD 7000- LIMITED STOCK
A$814.00

Aquatic Imaging Australia

198 Bondi Rd
Bondi, NSW 2026
info@aquaticimagingaustralia.com.au
+61 403 042 846

Hours

Tuesday – Sunday
9am – 5pm

Terms & Conditions